


I have been building my photography business primarily on high school senior photography as I really like the energy that these fine young people bring to a shoot! Seniors are interested in trying just about anything. They have an idea of what they want and it’s really great to get to know them and what they’ve achieved in school and where they plan to go next.
One such senior is Kelsey. Kelsey approached me to do her graduation announcement photos and she needed some photos for her college applications. She knew exactly how she wanted them to look - “I want them to be casual and grounded in nature.” It was up to me to fulfill her requirements.
OK, if there’s one thing in photography that you need to be - that is to be prepared and to always have a backup plan.
Photographers are problem solvers and we have to be quick on our feet and in our minds working to get the shot the client wants. In this case, I was prepared for this shoot and managed to have to do very little problem solving because of being prepared. First, I scouted several locations to ensure that the spot would suit the client’s needs. Once I had the perfect spot, I went back the week before and took shots of where I would position her! I shared this with Kelsey and she was pleased with several of the spots at this one location. She was delighted that we would only need to go to one location to have the variety she was looking for. Second, during my visits I made sure I was there at the time of the scheduled shoot to get an idea of where the sun would be. I knew that if the sun were not going to be covered by clouds, I would need at least two flashes in my softbox to help fill in the shadows at that time of day.
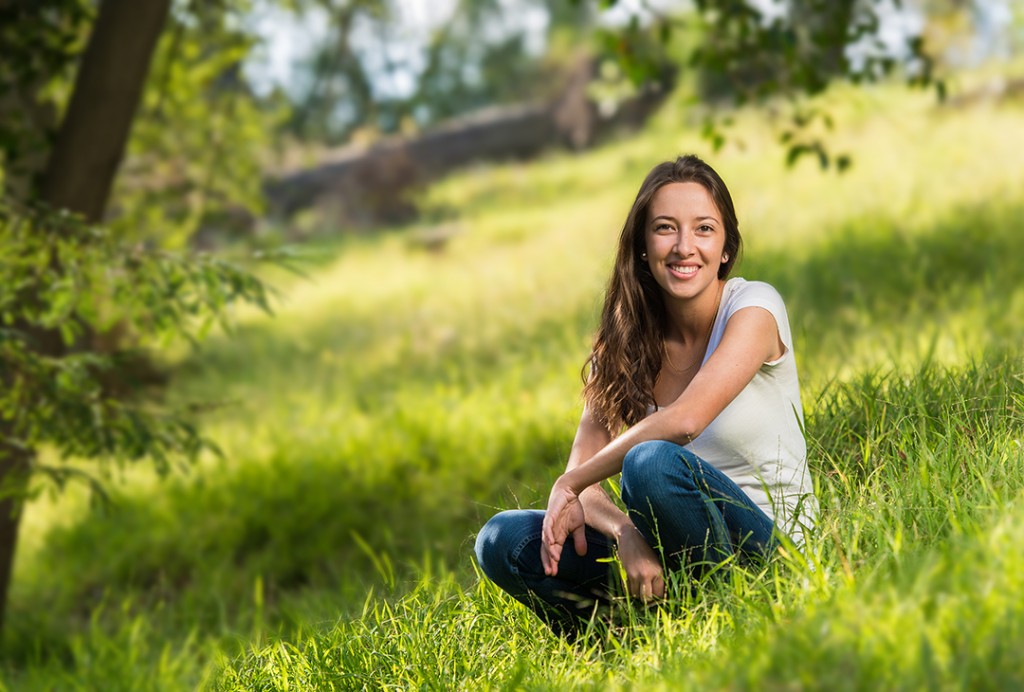
Here is the shot she used for her college applications. Looks pretty simple but would you guess that it’s a two light setup? To be clear, I did use two flashes in one softbox but I counted on the sun to add a certain amount of highlights and of course provide enough ambient light to fill in the shadows around her. What I like about this shot is that the flash isn’t immediately noticeable so the photograph looks like it was shot in natural light.
One such senior is Kelsey. Kelsey approached me to do her graduation announcement photos and she needed some photos for her college applications. She knew exactly how she wanted them to look - “I want them to be casual and grounded in nature.” It was up to me to fulfill her requirements.
OK, if there’s one thing in photography that you need to be - that is to be prepared and to always have a backup plan.
Here is the shot she used for her college applications. Looks pretty simple but would you guess that it’s a two light setup? To be clear, I did use two flashes in one softbox but I counted on the sun to add a certain amount of highlights and of course provide enough ambient light to fill in the shadows around her. What I like about this shot is that the flash isn’t immediately noticeable so the photograph looks like it was shot in natural light.

Here are the technical aspects of this shot:
* Nikon D800
* Nikon 70-200mm VRII f/2.8
* White balance @ Auto
* 2 Nikon SB-900 at 1/4 power
* 1/4 CTO Gel over each flash
* Triggered via Pocke Wizard Plus II
* Both flashes inside a Westcott 43” Apollo Orb Softbox
* Attached to a paint pole via a Kacey Pole Adapter (Find the adapter here!)
Dual Flash Umbrella Bracket (eBay Special)
Sure Line adjustable paint pole (from Home Depot)
Radio Shack AM Audio Splitter
Of course your camera settings and such will vary with your lighting conditions.
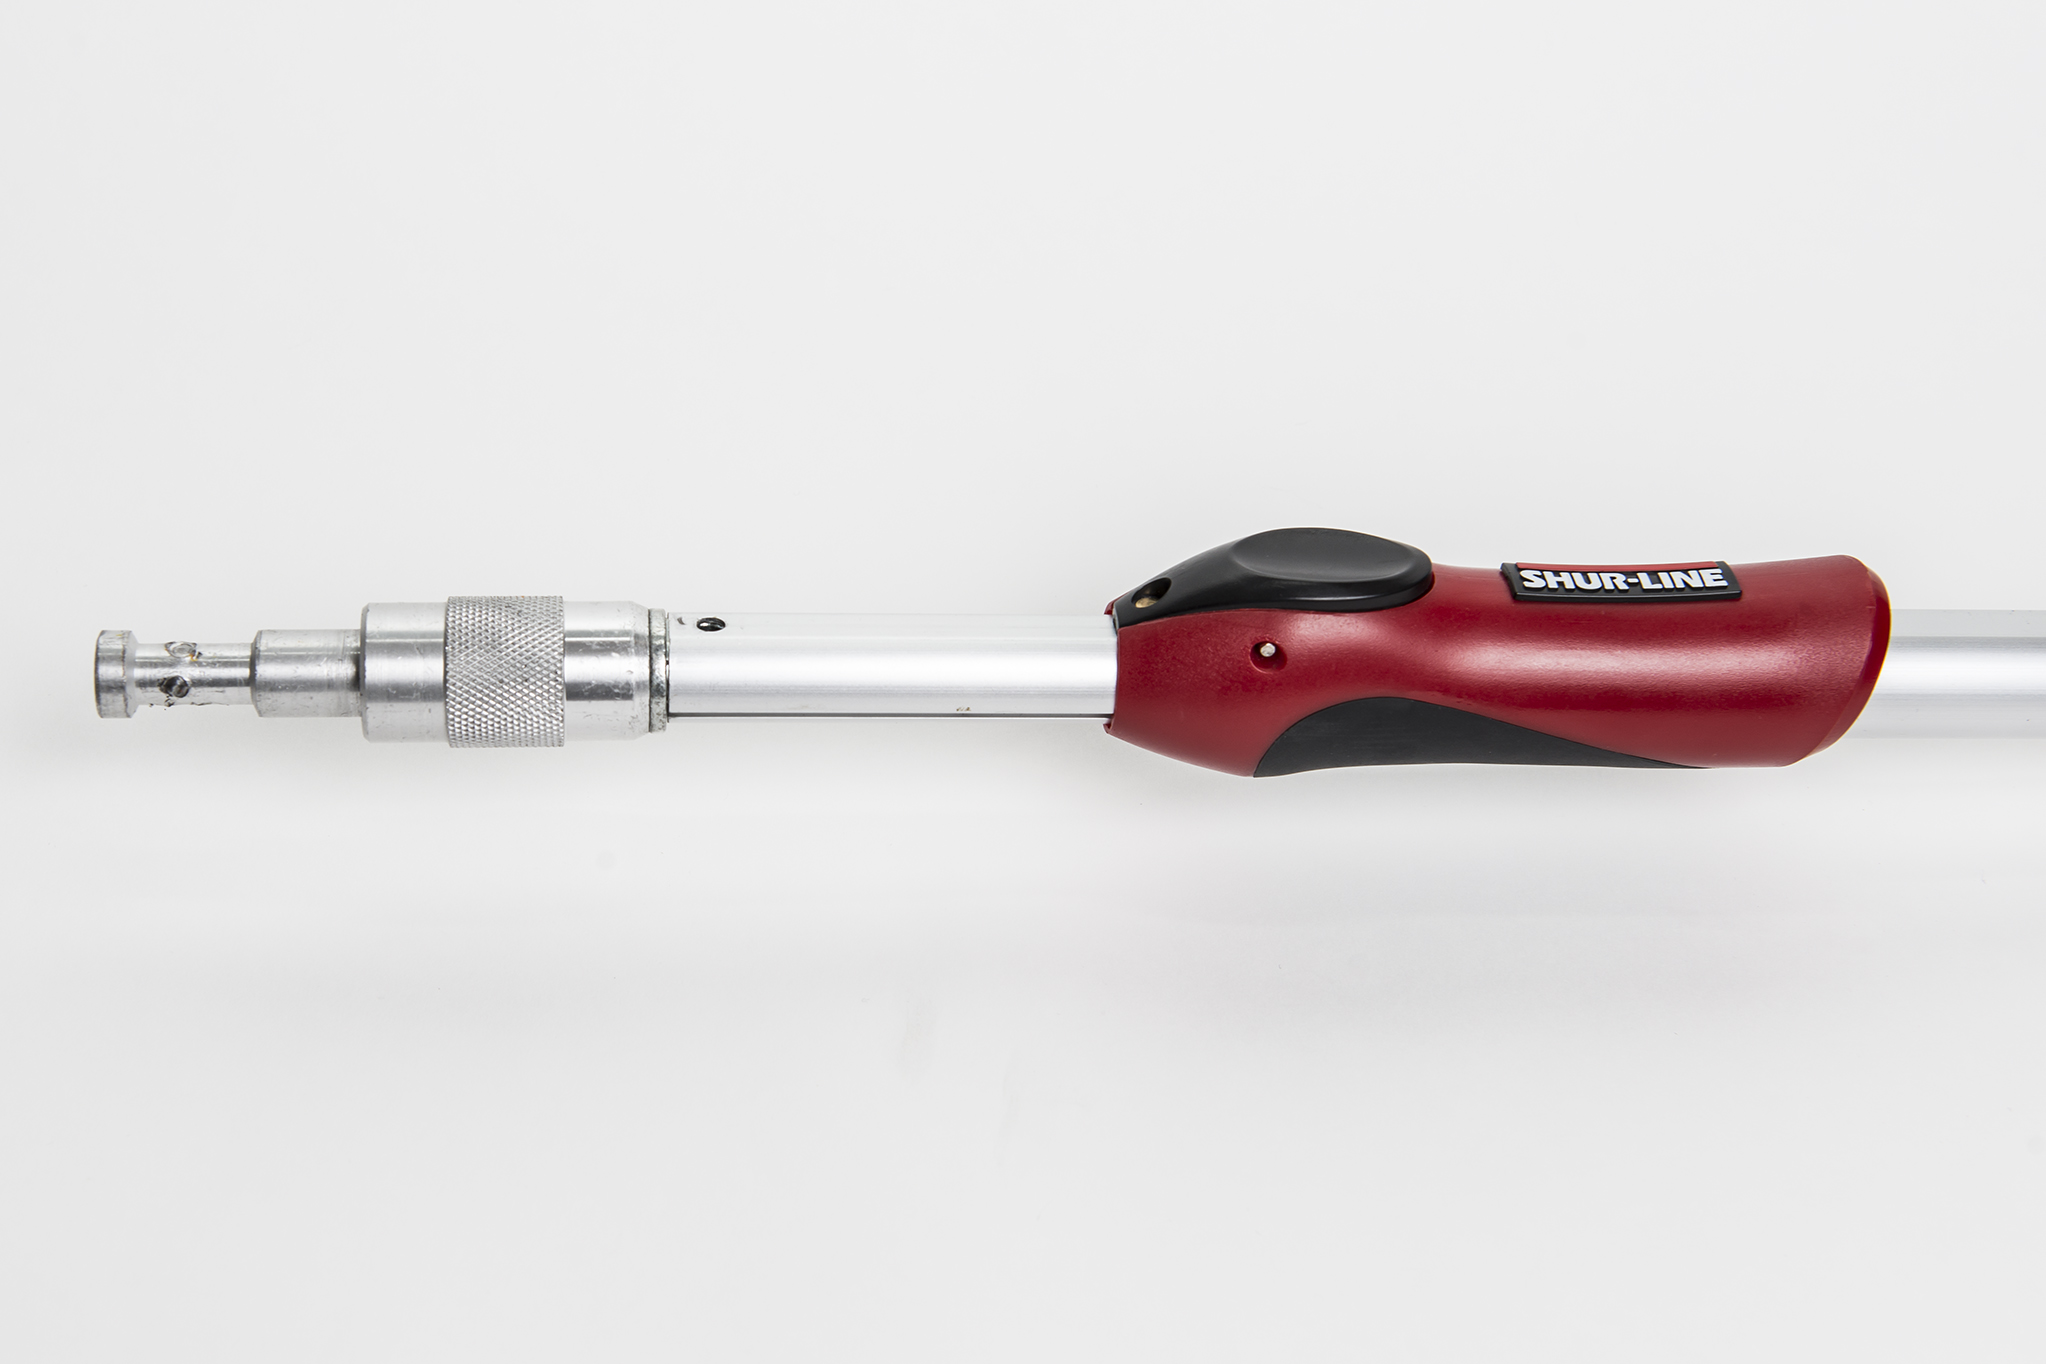
Could I do this with just one flash? Yes, I could have. I chose two because I could double the output from the softbox but use less power on both flashes which gives me a much greater chance of taking multiple shots without the hassle of dealing with recycle time or overheating the flash. This was before I owned a battery powered studio strobe that I can take out during broad daylight hours, which I do most of the time now! For this shoot, here’s what the setup looks like - in Figure 2, you can see the Sure Line Paint Pole and the Kacey Pole Adapter. In Figure 3, you can see the dual flash bracket and the setup of the flashes with the Pocket Wizard and Radio Shack audio splitter. Imagine the dual flash setup attached to the Kacey Pole adapter on the paint pole. This is conveniently held by an assistant – which is great as I can simply ask the assistant to move the light in or out or up or down or whichever way I need it.
Could I do this with just one flash? Yes, I could have. I chose two because I could double the output from the softbox but use less power on both flashes which gives me a much greater chance of taking multiple shots without the hassle of dealing with recycle time or overheating the flash. This was before I owned a battery powered studio strobe that I can take out during broad daylight hours, which I do most of the time now! For this shoot, here’s what the setup looks like - in Figure 2, you can see the Sure Line Paint Pole and the Kacey Pole Adapter. In Figure 3, you can see the dual flash bracket and the setup of the flashes with the Pocket Wizard and Radio Shack audio splitter. Imagine the dual flash setup attached to the Kacey Pole adapter on the paint pole. This is conveniently held by an assistant – which is great as I can simply ask the assistant to move the light in or out or up or down or whichever way I need it.

Now I probably should take a moment and describe what is going on in the Figure 3. Here you see the two flashes mounted to a flat bar and in the center is a riser that the umbrella is or, in this case, the Westcott Orb is mounted to. Next, on the left flash you see a screw that I mounted another flash cold shoe to and I hung a Pocketwizard upside down. Connected to the Pocketwizard is a $3.00 audio splitter from Radio Shack. This allows me to trigger both flashes at the same time only using one radio. That $3.00 splitter saves me $97 on an extra radio trigger! I found the special umbrella bracket on eBay by accident. What is super great about it is the shaft of the light modifier is raised to the head height of the flash, allowing the flash to fire right down the center of the light modifier.
Now with most of the technical setup out of the way – how did I make this photograph? The most important step when doing this type of shot for me is using my camera’s exposure metering system to expose for the surrounding setting. I usually start with an aperture setting – a setting that helps me tell the story. In this case, I wanted an aperture that has a pretty shallow depth of field that would isolate Kelsey from the surroundings by creating a blur of the background and partial foreground. I believe it was about F/4. Then I chose a shutter speed to appropriately expose the background and surrounding areas with enough light to be pleasing but not distracting. Lastly, I set the power of the flashes such that they would highlight my subjects face without overpowering her, because the sun was behind her – her face would have been in shadow.
Composition wise, I used the highlighted area of the grasses behind her head as a means of helping separate her from the background. In addition, I used the slant of the tree and the leaves as a sort of mini frame. In post processing, I did some color correction, a little cropping and I also added a layer to blur out some of the tree details as they were competing a little with my subject.
In all, it may seem complicated, but really with a little planning, and some of the right tools for the job, you will be rewarded with the perfect image and a happy customer. I was thrilled that the client enjoyed the photo shoot, used the picture for her application (I happened to think was the best one that met her requirements) and it’s nice to know she was accepted to the school of her choice! Hopefully I had a little hand in helping make that happen!
Please don’t forget to check out the excellent photography education offered here! Feel free to ask questions in the comments section below. Thanks for reading and happy shooting.