


In the above video, I demonstrate how to make a quick and easy collage in Adobe Photoshop CC 2017.
It's a good idea to plan out your layout by drawing a rough sketch on paper. How many horizontal and vertical images do you have? Are there any that would crop to nice looking squares? What size would you like your collage to be? Figure this stuff out ahead of time and draw the basic layout.
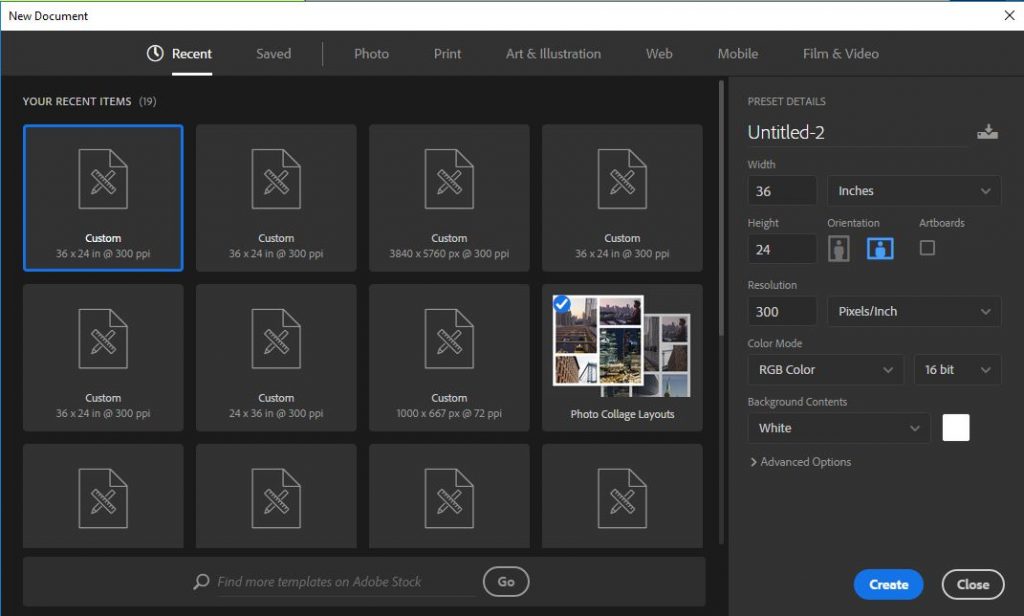
Create New File
Go to file>new and create a document of your desired size. I made mine with a print size of 36 inches by 24 inches at 300ppi. You can also set the size in pixels if you like.
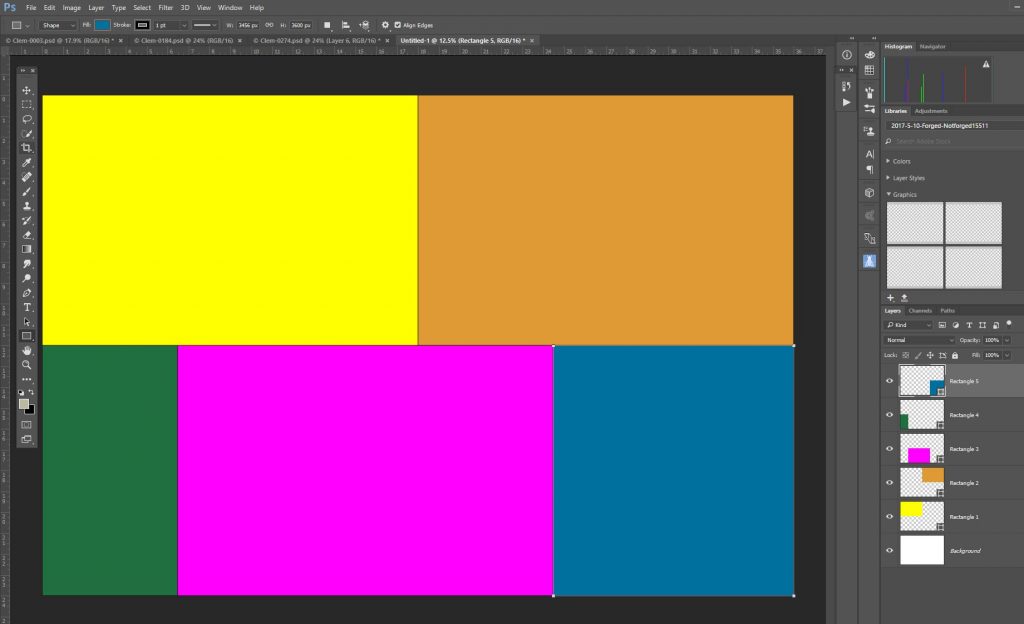
Lay Down the Rectangles
Using the rectangle tool set to "shapes," Lay down rectangles of various shapes and aspect ratios according to where you want your images to be placed. In the video, I laid down three in landscape orientation, one portrait orientation and one square to fit the images I wanted to use for my collage. It's a good idea to set distinct and vibrant fill colors for your rectangles so you have a clear visual marker when looking at the layers panel later.
Insert the Images
To insert an image, simply copy and paste your image on top of the rectangle where you want to place it. Then right click on the image layer you just pasted and click "create clipping mask" so it will only be placed inside the desired rectangle. Then move the image into position using a combination of the move tool and transform command. Watch the short video for clarity on this!
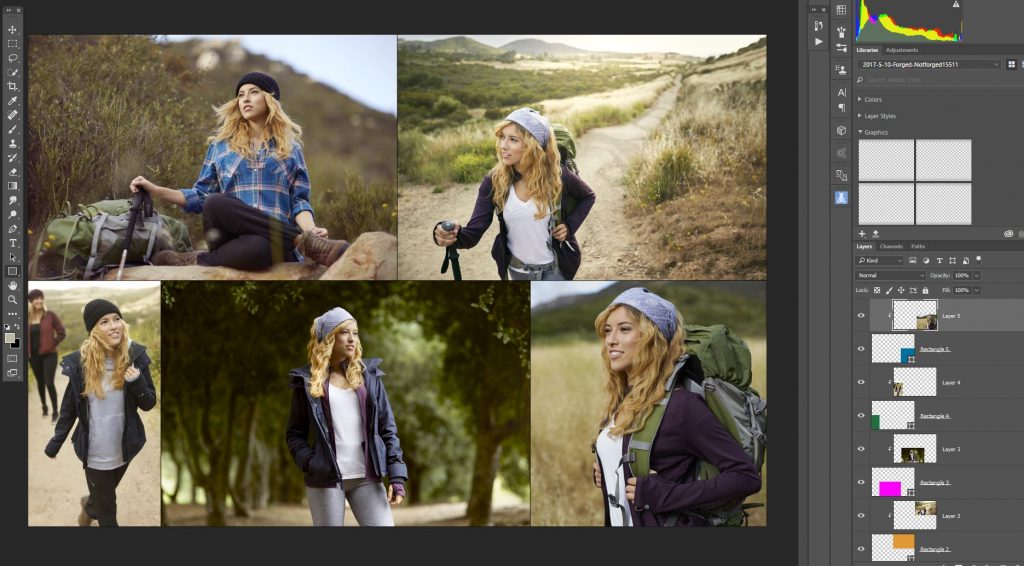
This is a quick way to make custom collages without forcing your images into cumbersome templates!
(Photos & Article by instructor Rob Andrew, Styling: Megan Ballard, Model: Clementyne: https://www.instagram.com/clementynejoy/)