


When it comes to using Photoshop to perfect or retouch a photograph, there's clicks, keystrokes, and menus involved- A LOT of them.
Luckily, Photoshop has something called "actions" which can be used to automate repetitive tasks and consolidate multiple steps into a single keystroke or click. Imagine creating 5 different layers for retouching a photo, applying layer masks and creating organized layer groups with a single click or hotkey - that's the world of Photoshop actions and its easier to learn than you probably are thinking.
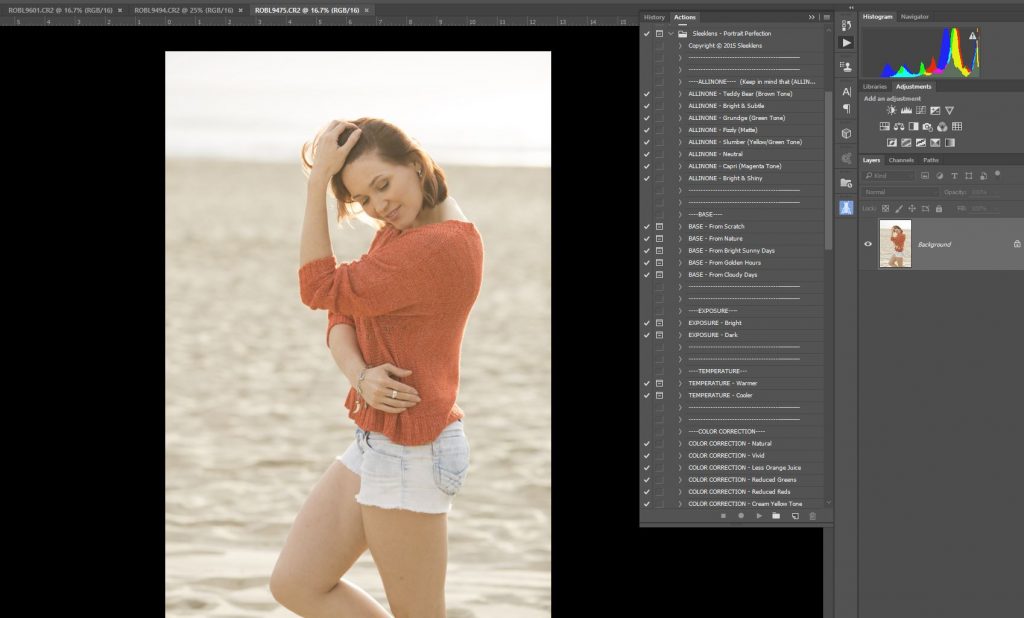
You can show the actions panel by clicking window>actions. When the panel comes up you'll have a little menu on the top right of the panel where you can start a new action. At that point you can give your action a name (and hotkey if desired). After that, use the "record" and "stop" buttons at the bottom of the panel to record your very own action! Just select it and press play any time you want Photoshop to do the recorded task for you (or press the hotkey combination you entered when you created the action).
So what if you have no idea what to record or automate? Or what if you want to discover or expand your editing possibilities by getting actions from others? That's where purchasing actions recorded by other individuals and companies comes into play.
TIP: To load in an action made by somebody else, simply open the action panel, open the menu at the top right and click "load actions..." This will allow you to navigate to an action (.atn file) on your computer and load it right in.
For the most part, I create my own actions and have a specific workflow for retouching a photo that is personal to me. I have, however, bought a few actions over the years which have proven to be useful and have helped me expand my own knowledge. Recently I was asked to test out and review this set by Sleeklens.
The set has an unusually high number of options for single action set, from manual retouching actions that simply set up the layers for you, up to more automated "filters" which change the color tones or overall "feeling" of your image without much input from you. This set is designed with portrait photographers in mind. They've priced it at a pretty competitive $49 (as of 9/22/2016), making it very accessible to amateurs, students and pros.
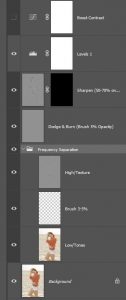
Being a little more advanced Photoshop user, the first thing I typically do is set up layers for retouching with frequency separation and dodge and burn (for selective brighten and darken). Their "advanced retouch" action does these things for you as well as a couple extras like a sharpen layer and a contrast pop layer that can be adjusted with opacity to taste.
I used this first set to do 90% of my retouch including removing minor blemishes, boosting contrast slightly, sculpting the face just a bit with dodge and burn, sharpening the eyes and lips a touch, followed by a manual crop and straighten. The layers are labeled nicely with suggested brush opacity. Only one of the layers was not labeled with a purpose (the one between the hi and lo FS layers) but I would assume from experience, one would brush solid colors on this layer to whiten teeth etc. without harming the textures, so I used it to do a slight teeth whitening.

With the basic cleanup out of the way, the next step was to have some fun! I decided to flatten up the image and start playing with some of the built in toning actions. This is their tonal enhancement called "mountain hike reduced to 33% intensity:

And this would be their "star trail" tonal enhancement at 21% intensity with one of their automated vignettes added to darken the edges just slightly:
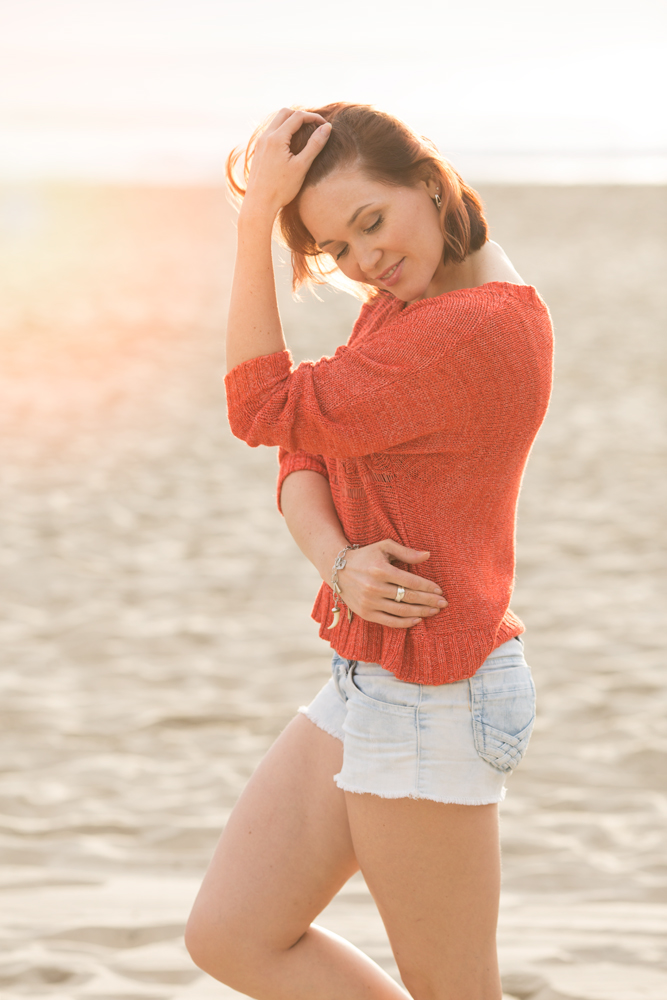
Finally for this one I used their automated "light glow" called "sunny", which makes sense for backlit images:
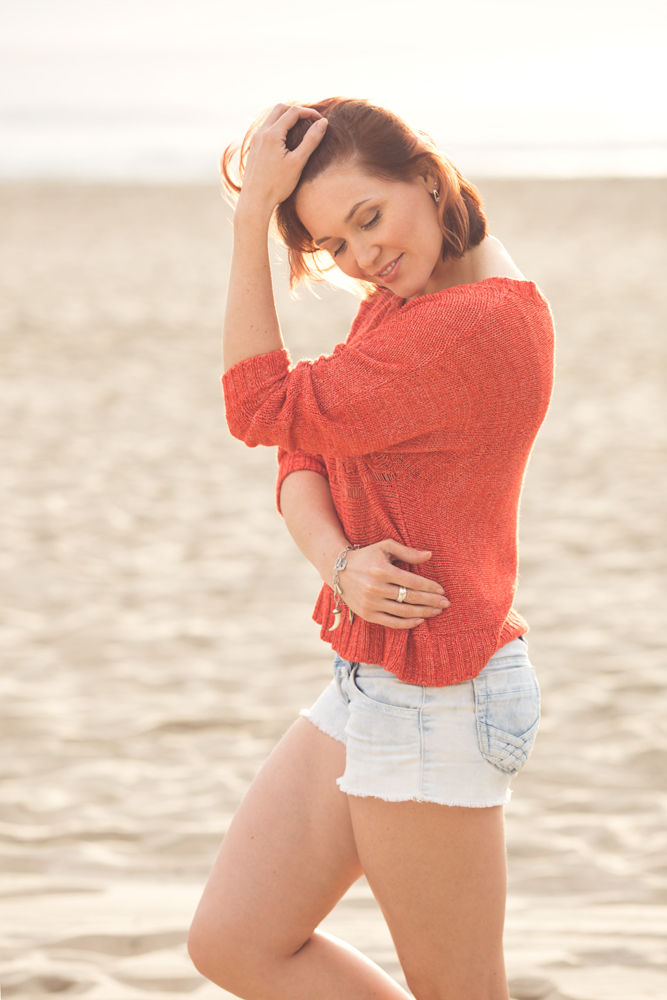
All in all, since I was working with a low contrast, somewhat high-key lifestyle image, I wasn't as interested in playing with tonal filters. The first image (retouched but not "processed") is still my favorite version. The instagram-eque actions kind of made the colors go way out to left field in a hurry. On a more conventionally photographed portrait, however, they would be fun and quick enhancements to play with. I am impressed with their complete advanced retouching action and have already added a hotkey for myself in Photoshop for that one! To see more of their Photoshop products click here and as always, get the most out of your photography by enrolling in a class HERE!
(Photo: San Diego Photographer Rob Andrew, Model- Sasha Pichugina